Why, DaVinci Resolve, why?
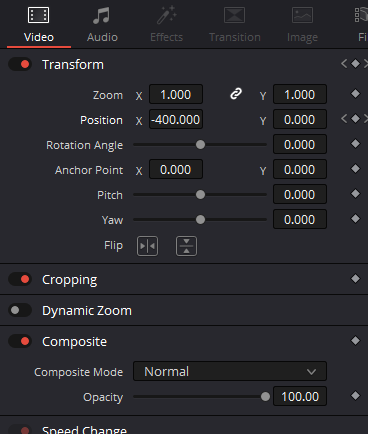
DaVinci Resolve allows every aspect of a clip to have a keyframe animation. The zoom, position, rotation, opacity, and more can all be animated. And
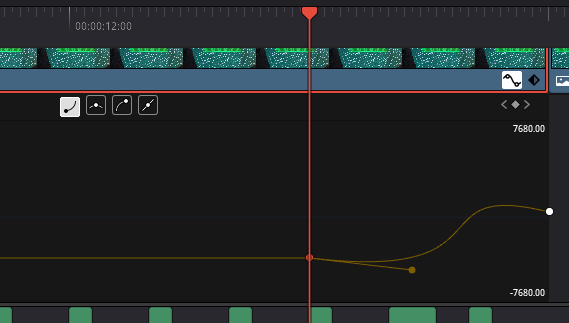
they can be animated smoothly. By pressing the “keyframe curve edit” icon you can change the motion from linear to something more
pleasing, like bezier. All you have to do is click on the first keyframe and press the “ease in” button, then click on the second keyframe
and press the “ease out” button. This makes it so, for example, the zoom eases in and out of its movement.
But, FOR SOME REASON, when you try to do this for the X and Y position of a clip, pressing those buttons does not automatically make the curve a
perfect bezier curve, instead you have to manually move the control lines. And this menu, shown underneath the clip is tiny, so there’s no way
to really see what you’re doing. So there’s a fair chance for you to accidentally make your animation move slightly backwards before going
forwards, which looks really bad.
Why is animation the position different from animating other things? Why isn’t there a better curve editor (maybe one that has snap-to-grid???)?
Yes, I know there’s one on the Fusion page, but you shouldn’t have to go through all the extra Fusion-related effort to animate the
movement of a rectangle. It’s easier to animate with precision in CSS, exclusively through code, than to use this.
Blackmagic Design please fix this 🙏 I love DaVinci Resolve.
LAST UPDATED: January 7th, 2023

